|

Using TI Connect™
(PC Computer Directions)
Connecting to a Computer
A USB cable (or RS232 port cable) connects your
TI-83+/84+ to your PC computer. One end of the cable will resemble your
calculator-to-calculator link and will connect directly to your
TI-83+/84+.
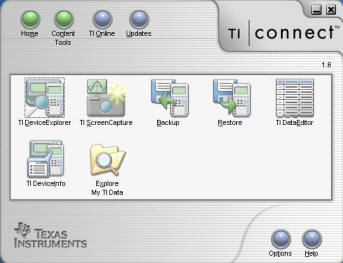
The TI-Connect™ software shown at the right is free of
charge and is available from
http://www.education.ti.com |
 |
|

|
|
Screen Captures to be used in MS Word
Documents |
 |
| ► |
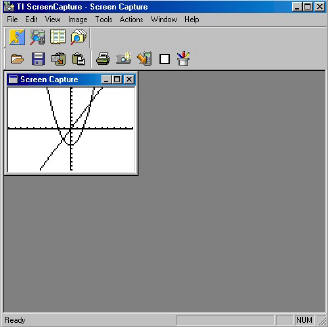
from the home screen (shown above),
choose the camera icon. A message will appear saying that a
connection is being established. |
| ► |
A screen similar to the one at the
right will appear. |
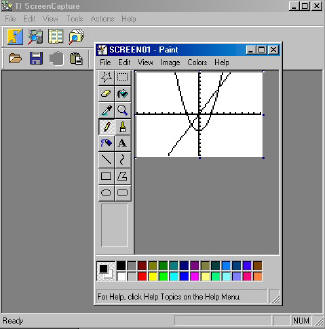
| ► |
To obtain another screen capture,
choose the icon for the camera from the tool bar. (2nd row, 6th icon) |
| ► |
Choose the “box” icon if you wish a
border around the outside of your image. |
| ► |
Choose the “paste to clipboard” icon (2nd
row, 3rd from left) to put the picture on your computer’s
clipboard. |
| ► |
Go to MS Word and “paste” into your
document |
| ► |
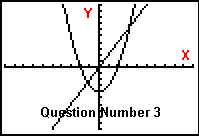
You can choose to resize
these images before pasting. Choose IMAGE, Resize. You
can make images larger or smaller. |
|
Editing the Graph
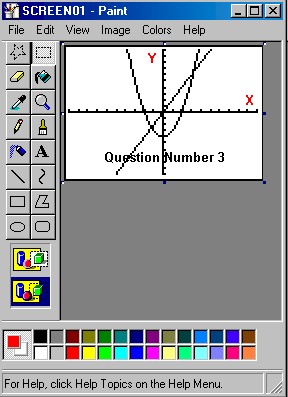
Add Text to the Screen Display:
To type and format text:
| ► |
Click on the icon with the paint brushes |
 |
| |
You will be asked to save the image.
Just remember where you place it. |
| ► |
In the toolbox, click the text tool ‘A’.
|
| ► |
To create a text frame, drag the pointer
diagonally to the size you need. (There is a minimum size for the text
box that you’ll see with practice.) |
| ► |
From VIEW, choose the Text Toolbar. Here you will be able to choose
the font, size, and style you need for the text. |
| ► |
Click inside the text frame, type
the text, and then do any of the following as needed. |
|
 |
| • |
Move or enlarge the text frame:
|
| |
To ‘Move’ the text box, mouse to the edge of the text box until you
see the arrow.
Click, and slide the text box where you want it placed.
To ‘Enlarge’ the box, point to one of the corners to get the sizing
arrow, click and
drag to the desired size. |
| • |
When finished typing, click on the picture
outside your text box. This will end any changes to your text.
In order to modify after this step, you will need to
SELECT the text (using the dotted rectangle on the toolbar).
|
| • |
Click a color to change the color of the text.
|
| • |
Click on the ‘Transparent‘ box ( left menu,
bottom selection) for transparent labels, or use the default
solid text box to print over a background color. For the second
option, right-click on the desired color to change the
background color. |
 |
 |
Notes:
►You can view the text toolbar by clicking the View menu and then
clicking Text Toolbar.
If it obscures part of the Paint window, you
can drag the toolbar to any location in the window.
► You can enter text into a picture only in Normal view (not in
magnified view).
► Your text becomes part of the picture by clicking outside the text
frame.
► When the text tool is selected, you can paste text only. You cannot
paste graphics.
► You can undo up to three changes by clicking the Edit menu and then
clicking Undo for each change.
|